The 3 most important tips for creating outdoor lighting
- Posted on
- By INTOLED
- 0
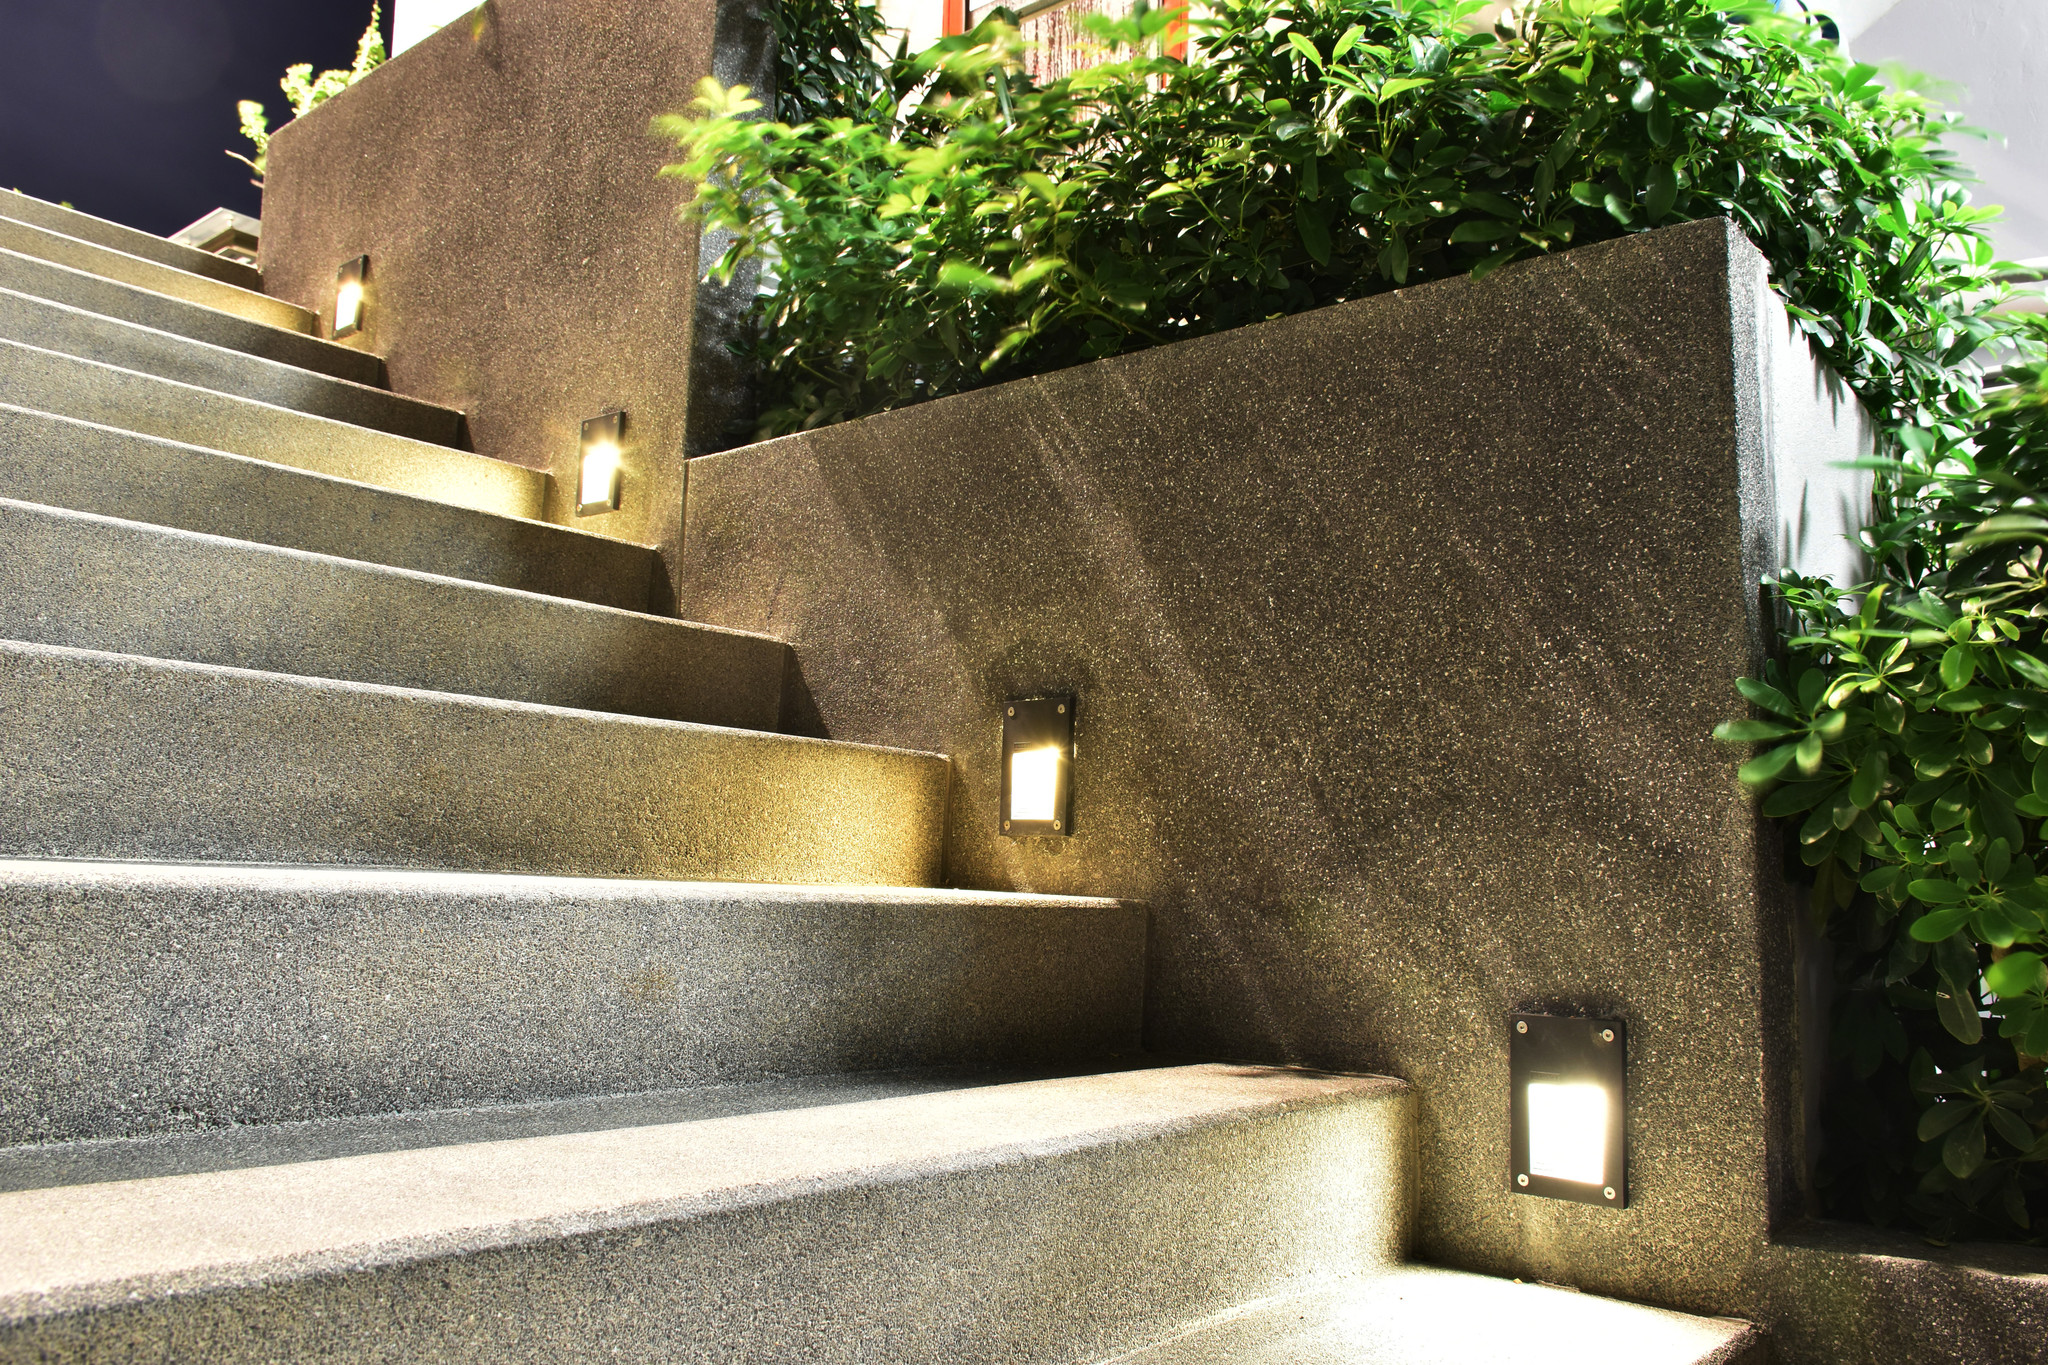
Installing outdoor lighting? Did you like the garden a lot this summer, like so many people? Then of
course you want to enjoy it all year round. That is possible with good outdoor lighting. Installing
outdoor lighting is often not completely plug & play. There are a number of issues that you should
look out for. In this blog you will find the 3 most important tips for creating outdoor lighting. This way
you enjoy your garden all year round.
The most important issues in the installing of outdoor lighting:
- the IP rate
- how much rain falls on the lightshumidity of the substrate.
But technical factors also play a role in the construction of outdoor lighting. Think, for example of how you install the electricity grid around your lighting.
Installing outdoor lighting tip 1: The IP rate
In the world of IP rates there are three common rate: IP20, IP44 and IP65. These IP rate determine the dust density and the degree of protection against water and moisture. You can read more about this in our blog about IP rate.
When installing outdoor lighting, it is important that you choose the lighting on the basis of place in the garden. Under a canopy you can choose for outdoor lighting with an IP rate of IP44. Place the lamp in an open space, then you choose a lamp with an IP rate of IP65.
The second number is especially important here. The 5 indicates that this lamp is completely splash proof. A high IP rate ensures that the lamp is not damaged by water and you can enjoy your newly landscaped outdoor lighting for years to come. Make sure you do not choose outdoor lighting with an IP rate of IP20, because this means that the lighting cannot withstand moisture at all.
Outdoor lighting ideas: Location and surface
Although outdoor lighting always has to deal with moisture, you can limit the amount of moisture through smart placement of the lamps. This means that the outdoor lighting lasts longer. In any case, do not place the lamps in a pit. Although good outdoor lighting can work pretty well against water, the lighting is never 100% waterproof. When water enters a pit, the lamp is flooded. This can have consequences for the lifespan of the outdoor lighting. Always place the lighting on a level or higher surface. An additional advantage is that the lamp can shine freely and the lamp can thus illuminate a larger area.
In heavy precipitation, the soil around the spot becomes soggy. When the outdoor lighting is exposed to this swampy soil for a long period of time, this can cause water damage. That is why we advise you to dig a deeper hole when installing the outdoor lighting than is necessary for the lighting, at least 30 cm below the spotlight and also on each side we recommend using gravel as shown in the picture above. Once you have dug a hole that is at least 30 cm deep, place a layer of gravel in the hole and place the spotlight in it. The gravel improves the drainage of excess groundwater, as a result of which the lighting is exposed to a damp substrate for a shorter period of time. This maximizes the lifespan of the outdoor lighting. Once you have put the spot in place, you can fill the sides with the remaining gravel to make the drainage as good as possible.
Installing outdoor lighting Tip 3: Waterproof cable connectors
Of course you do not want a garden full of visible cabling. So you will lay the cabling of the outdoor lighting under the ground. For this it is extra important that the cabling and connecting is resistant to moisture. In practice, we regularly see that cables are connected underground with duct tape. This is going well in the first months, but in the case of a rainy period the first lamps will immediately die.
To prevent damage to the water we advise to use our cable connectors. At INTOLED you will find a wide range of IP68 cable connectors. These cable connectors are extremely resistant to moisture and ensure that you never have to dig out the cables. We recommend placing the cable connectors together with the outer casing at least 80 cm below ground level for additional safety.
Does the cables have to make special curves? Keep in mind the flexibility of the cables. Very stiff cables are difficult to neatly lay down in turns and combine with a cable connection.

Correct installation with drainage and waterproof connections



Comments
Be the first to comment...