- All products are added to your cart.
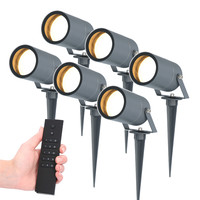
HOFTRONIC™ - Set of 6 LED Gardenspike lights Spikey - 5 Watt - 400lm - 2700K - anthracite - IP65 waterproof - Incl. dimmer with remote control


- Article number: 5426452
INTOLED delivery time
Delivery time
We do everything to deliver the ordered items to you on time. In some cases, circumstances may cause a delivery to be delayed. If this is the case, please contact our customer service.
HOF Trading B.V.
Contact: Yariek Koehof
Email: [email protected]
Address: Snelius 1, 6422 RM Heerlen
-
Specifications
Watts: 5 Watt Luminous flux: 400 Lumen Input power: 220-240V AC Frequency: 50/60Hz Color temperature: 2700K Light color: Warm white Dimmable: Yes Beam angle: 38° Base: GU10 Material: Aluminium Color: Anthracite RAL code: 7016 Including light source: Yes Replaceable light source: No Energy label: A+ Energy label new: F IP-rate: IP65 Powerfactor: >0.95 Color rendering index (CRI): >80 Dimensions: 100 x 60 x 245 mm Working temperature: -20°C ~ 40°C Switching cycles: 50.000 cycles Life span: 15.000 hours Suitable for: Outdoor Certification: CE, EMC, RoHS Warranty: 3 years EAN: 8720365426452 HOF Trading B.V.
Contact: Yariek Koehof
Email: [email protected]
Address: Snelius 1, 6422 RM Heerlen
Supplier HOF Trading B.V. -
Product description
Set of 6 LED Gardenspike lights Spikey - 5 Watt - 400lm - 2700K - anthracite - IP65 waterproof - Incl. dimmer with remote control
This LED gardenspike light is made of durable maintenance-free aluminium in the colour anthracite. Because this spotlight can be tilted, you can ideally illuminate trees, hedges, walls and buildings with the right light beam directed because the light head is 360° adjustable. This makes this beautiful spotlight very flexible in terms of set-up and applications. Thanks to the full aluminum housing and an IP65 protection degree, this spotlight is resistant to the harshest weather conditions (not suitable for underwater!).
Interchangeable light source and Suitable for Philips Hue GU10 spotlights
This spike light is also suitable to place a Philips Hue GU10 spotlight inside because they are larger than standard GU10 spotlights, they do not often fit but with our spike light light we have taken into account that the Philips Hue GU10 spotlights fit perfectly.
Easy installation
If you have little experience with installing lighting or ground spotlights then you don't have to worry about installing them. The installation is very easy, as the spot is already equipped with a GU10 fitting and already connected cable of 30 cm long. You only need to connect the ground spots to the power cable of the power supply by means of the waterproof cable connector, you don't need a transformer for this. Connecting the ground spots is now a piece of cake!
The spotlight is easy to install. Insert the ground stake in the desired location in the ground and connect the spotlight to it. Make sure that the power cable is first connected to the LED receiver, from the LED receiver you can further install the cable to the other spotlights. You can easily install the spotlight with more spots. For this you can use our waterproof cable connectors to connect the ground spots with each other. Connecting the garden spots is now a piece of cake! The LED receiver works with a RF chip which makes it possible to operate your lighting directly via the supplied remote control.
Please note that you always place the ground spot in a draining material more tips on how to connect garden lighting can be read on our Blog; 3 tips for landscaping garden lighting.
Installation on a wall
The Spikey garden spike have a unique feature: the garden spike lights can also be mounted on a wall! To do this, you only need to loosen the spike, and then you can use 2 screws to mount the fixture on a wall. The fixture is tiltable, so the Spikey can serve as a spotlight.
What do you need to pay attention to when installing?
These modern outdoor lamps come standard with GU10 fittings, GU10 dimmable LED light sources, a wireless LED dimmer & RF remote control. The installation of this complete set is done in a blink of an eye, this is because everything is delivered complete with this set.- First, turn off the power of the groups you are going to work with!
- Once the power is off, you can connect the wires to the wireless LED dimmer, connect the wires to the N (neutral) and L (life) points. From here, the power wires can be further connected to the outdoor lamps.
Please note that the input voltage must not be other than 100-240V AC! - Once the outdoor lamps and the LED receiver are installed, the wireless remote control can be connected to the LED dimmer. You can do this very easily by first switching the power supply back on.
- Now press 1 time briefly on the "Learn" button of the LED dimmer, then select a group on the remote and press "l" or "O" of the selected group. After this, the linked lamps will flicker once. This means that the installation was successful!
ATTENTION: When installing the LED dimmer outside, you have to take into account that it is mounted in a waterproof mounting box/junction box. This prevents short circuits. - Downloads
Set of 6 LED Gardenspike lights Spikey - 5 Watt - 400lm - 2700K - anthracite - IP65 waterproof - Incl. dimmer with remote control
This LED gardenspike light is made of durable maintenance-free aluminium in the colour anthracite. Because this spotlight can be tilted, you can ideally illuminate trees, hedges, walls and buildings with the right light beam directed because the light head is 360° adjustable. This makes this beautiful spotlight very flexible in terms of set-up and applications. Thanks to the full aluminum housing and an IP65 protection degree, this spotlight is resistant to the harshest weather conditions (not suitable for underwater!).
Interchangeable light source and Suitable for Philips Hue GU10 spotlights
This spike light is also suitable to place a Philips Hue GU10 spotlight inside because they are larger than standard GU10 spotlights, they do not often fit but with our spike light light we have taken into account that the Philips Hue GU10 spotlights fit perfectly.
Easy installation
If you have little experience with installing lighting or ground spotlights then you don't have to worry about installing them. The installation is very easy, as the spot is already equipped with a GU10 fitting and already connected cable of 30 cm long. You only need to connect the ground spots to the power cable of the power supply by means of the waterproof cable connector, you don't need a transformer for this. Connecting the ground spots is now a piece of cake!
The spotlight is easy to install. Insert the ground stake in the desired location in the ground and connect the spotlight to it. Make sure that the power cable is first connected to the LED receiver, from the LED receiver you can further install the cable to the other spotlights. You can easily install the spotlight with more spots. For this you can use our waterproof cable connectors to connect the ground spots with each other. Connecting the garden spots is now a piece of cake! The LED receiver works with a RF chip which makes it possible to operate your lighting directly via the supplied remote control.
Please note that you always place the ground spot in a draining material more tips on how to connect garden lighting can be read on our Blog; 3 tips for landscaping garden lighting.
Installation on a wall
The Spikey garden spike have a unique feature: the garden spike lights can also be mounted on a wall! To do this, you only need to loosen the spike, and then you can use 2 screws to mount the fixture on a wall. The fixture is tiltable, so the Spikey can serve as a spotlight.
What do you need to pay attention to when installing?
- First, turn off the power of the groups you are going to work with!
- Once the power is off, you can connect the wires to the wireless LED dimmer, connect the wires to the N (neutral) and L (life) points. From here, the power wires can be further connected to the outdoor lamps.
Please note that the input voltage must not be other than 100-240V AC! - Once the outdoor lamps and the LED receiver are installed, the wireless remote control can be connected to the LED dimmer. You can do this very easily by first switching the power supply back on.
- Now press 1 time briefly on the "Learn" button of the LED dimmer, then select a group on the remote and press "l" or "O" of the selected group. After this, the linked lamps will flicker once. This means that the installation was successful!
| Watts: | 5 Watt |
| Luminous flux: | 400 Lumen |
| Input power: | 220-240V AC |
| Frequency: | 50/60Hz |
| Color temperature: | 2700K |
| Light color: | Warm white |
| Dimmable: | Yes |
| Beam angle: | 38° |
| Base: | GU10 |
| Material: | Aluminium |
| Color: | Anthracite |
| RAL code: | 7016 |
| Including light source: | Yes |
| Replaceable light source: | No |
| Energy label: | A+ |
| Energy label new: | F |
| IP-rate: | IP65 |
| Powerfactor: | >0.95 |
| Color rendering index (CRI): | >80 |
| Dimensions: | 100 x 60 x 245 mm |
| Working temperature: | -20°C ~ 40°C |
| Switching cycles: | 50.000 cycles |
| Life span: | 15.000 hours |
| Suitable for: | Outdoor |
| Certification: | CE, EMC, RoHS |
| Warranty: | 3 years |
| EAN: | 8720365426452 |
| Supplier | HOF Trading B.V. |
Set of 6 LED Gardenspike lights Spikey - 5 Watt - 400lm - 2700K - anthracite - IP65 waterproof - Incl. dimmer with remote control
This LED gardenspike light is made of durable maintenance-free aluminium in the colour anthracite. Because this spotlight can be tilted, you can ideally illuminate trees, hedges, walls and buildings with the right light beam directed because the light head is 360° adjustable. This makes this beautiful spotlight very flexible in terms of set-up and applications. Thanks to the full aluminum housing and an IP65 protection degree, this spotlight is resistant to the harshest weather conditions (not suitable for underwater!).
Interchangeable light source and Suitable for Philips Hue GU10 spotlights
This spike light is also suitable to place a Philips Hue GU10 spotlight inside because they are larger than standard GU10 spotlights, they do not often fit but with our spike light light we have taken into account that the Philips Hue GU10 spotlights fit perfectly.
Easy installation
If you have little experience with installing lighting or ground spotlights then you don't have to worry about installing them. The installation is very easy, as the spot is already equipped with a GU10 fitting and already connected cable of 30 cm long. You only need to connect the ground spots to the power cable of the power supply by means of the waterproof cable connector, you don't need a transformer for this. Connecting the ground spots is now a piece of cake!
The spotlight is easy to install. Insert the ground stake in the desired location in the ground and connect the spotlight to it. Make sure that the power cable is first connected to the LED receiver, from the LED receiver you can further install the cable to the other spotlights. You can easily install the spotlight with more spots. For this you can use our waterproof cable connectors to connect the ground spots with each other. Connecting the garden spots is now a piece of cake! The LED receiver works with a RF chip which makes it possible to operate your lighting directly via the supplied remote control.
Please note that you always place the ground spot in a draining material more tips on how to connect garden lighting can be read on our Blog; 3 tips for landscaping garden lighting.
Installation on a wall
The Spikey garden spike have a unique feature: the garden spike lights can also be mounted on a wall! To do this, you only need to loosen the spike, and then you can use 2 screws to mount the fixture on a wall. The fixture is tiltable, so the Spikey can serve as a spotlight.
What do you need to pay attention to when installing?
- First, turn off the power of the groups you are going to work with!
- Once the power is off, you can connect the wires to the wireless LED dimmer, connect the wires to the N (neutral) and L (life) points. From here, the power wires can be further connected to the outdoor lamps.
Please note that the input voltage must not be other than 100-240V AC! - Once the outdoor lamps and the LED receiver are installed, the wireless remote control can be connected to the LED dimmer. You can do this very easily by first switching the power supply back on.
- Now press 1 time briefly on the "Learn" button of the LED dimmer, then select a group on the remote and press "l" or "O" of the selected group. After this, the linked lamps will flicker once. This means that the installation was successful!
Related products
Wireless LED Receiver - Up to 100 watts - IP20 - 2 years warranty
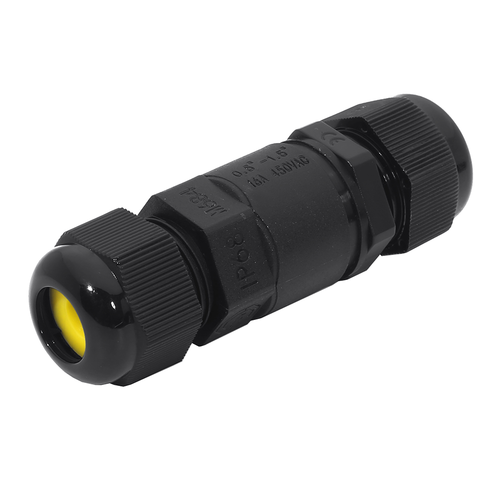
Cable connector IP68 waterproof
Cable Connector - IP68 Waterproof - 4 to 11 mm - Toolless installation
Cable connector - T-shape - IP68 waterproof
Twilight switch with timer function IP65
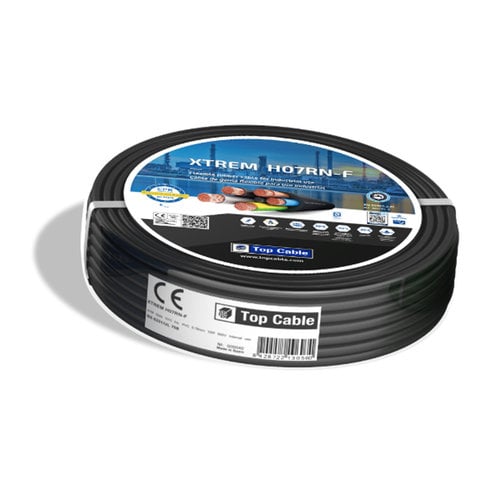
Installation cable Xtrem 3x1.5mm² suitable for indoor and outdoor 25m
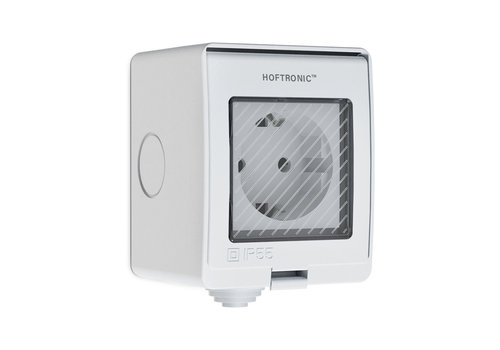
Smart Outdoor Socket - IP55 for indoor and outdoor use - Smart plug WiFi - Control via App - Compatible with Google Home & Alexa
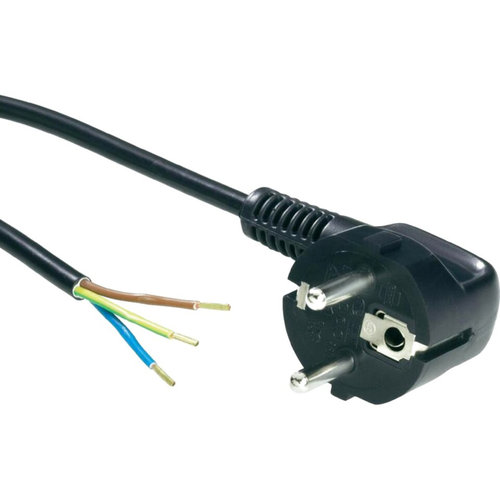
Power cord 5m 220V 3x0,75 mm² incl. plug with grounded earth

